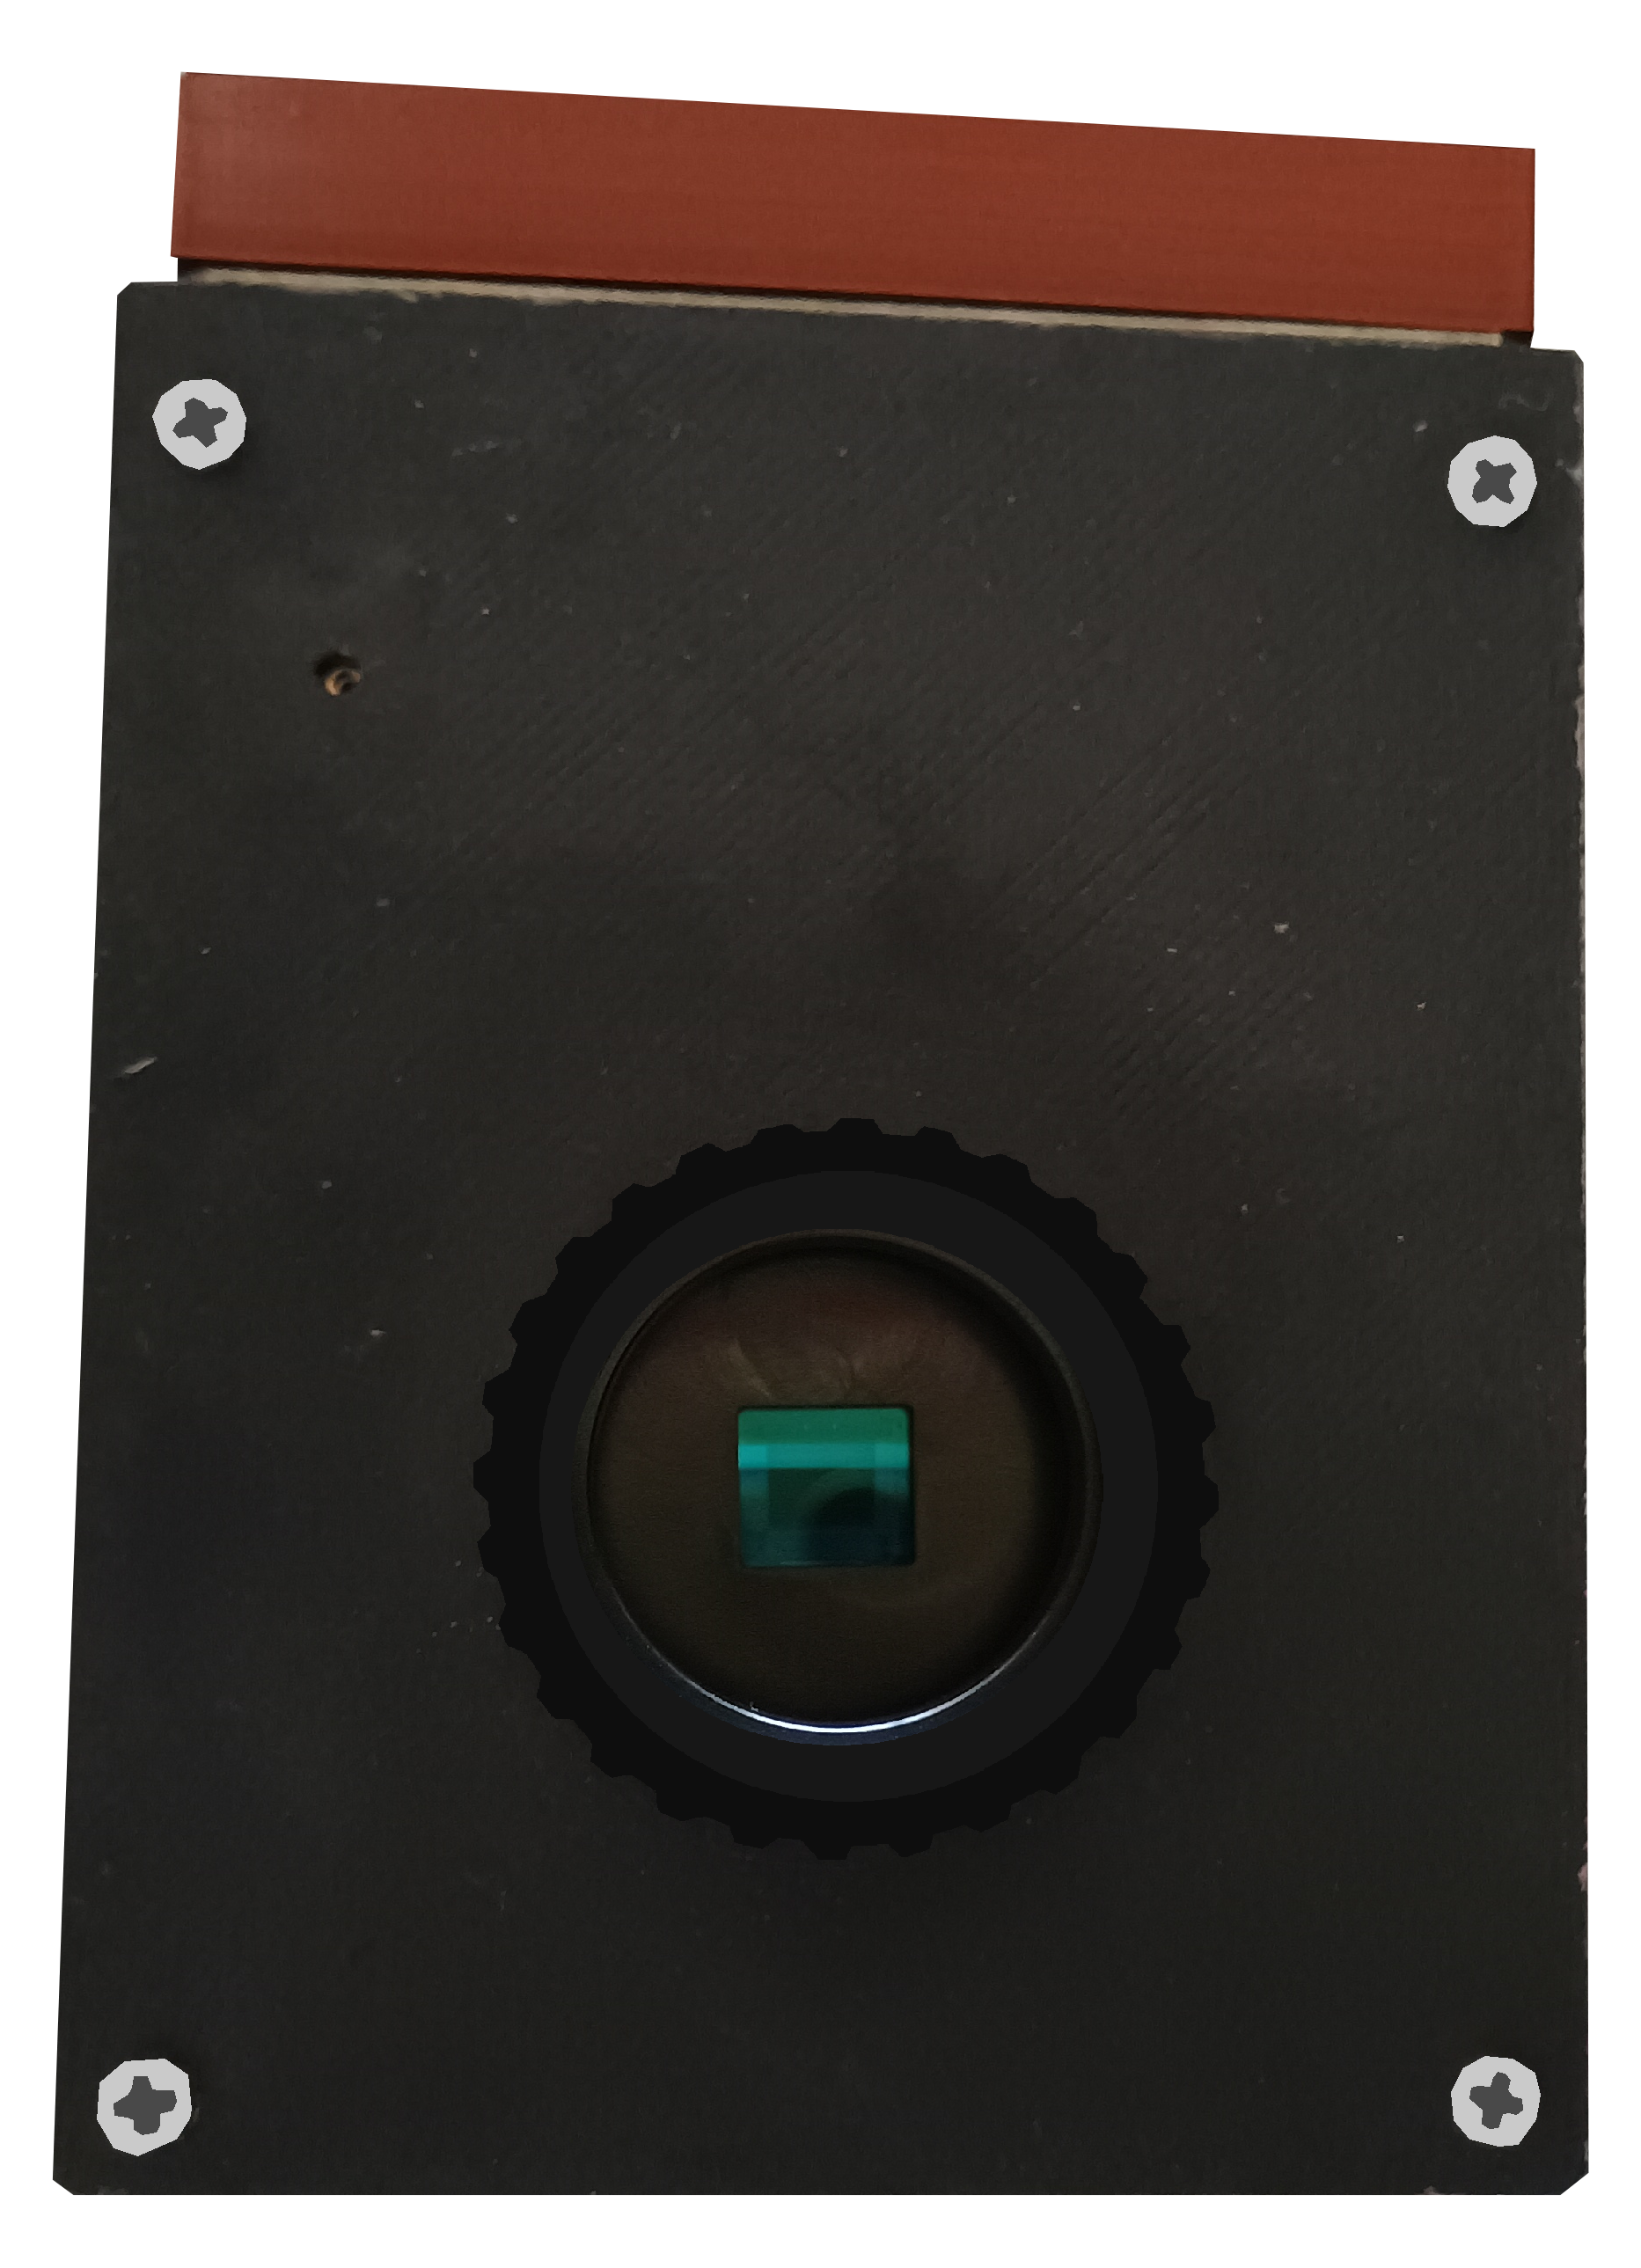
some time ago i got pregnant and i decided to share how to build my daughter! it's a global shutter camera that is yet to see an helicopter or some really fast moving object. i guess you can build with Pi's High Quality module for an increase of 10 megapixels in exchange of a rolling shutter
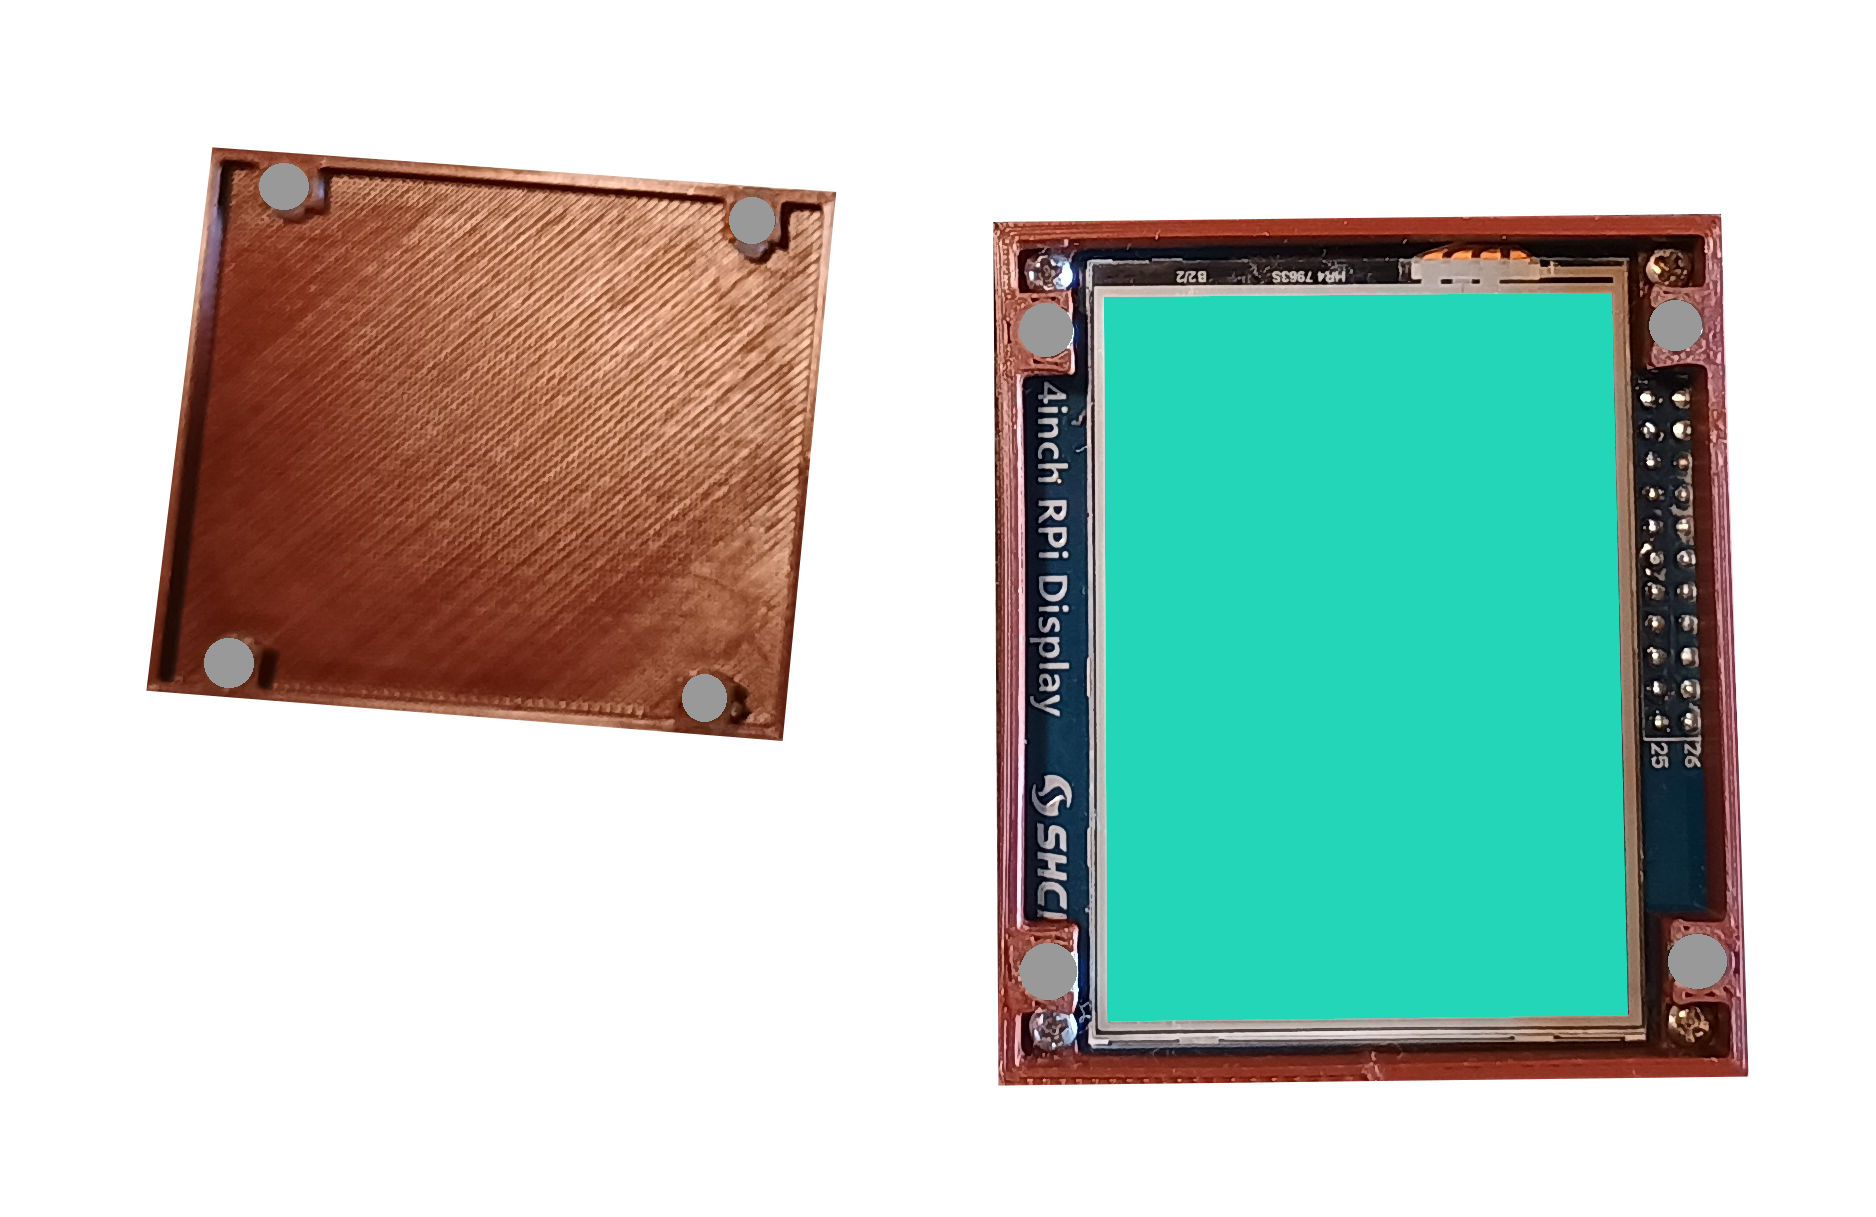
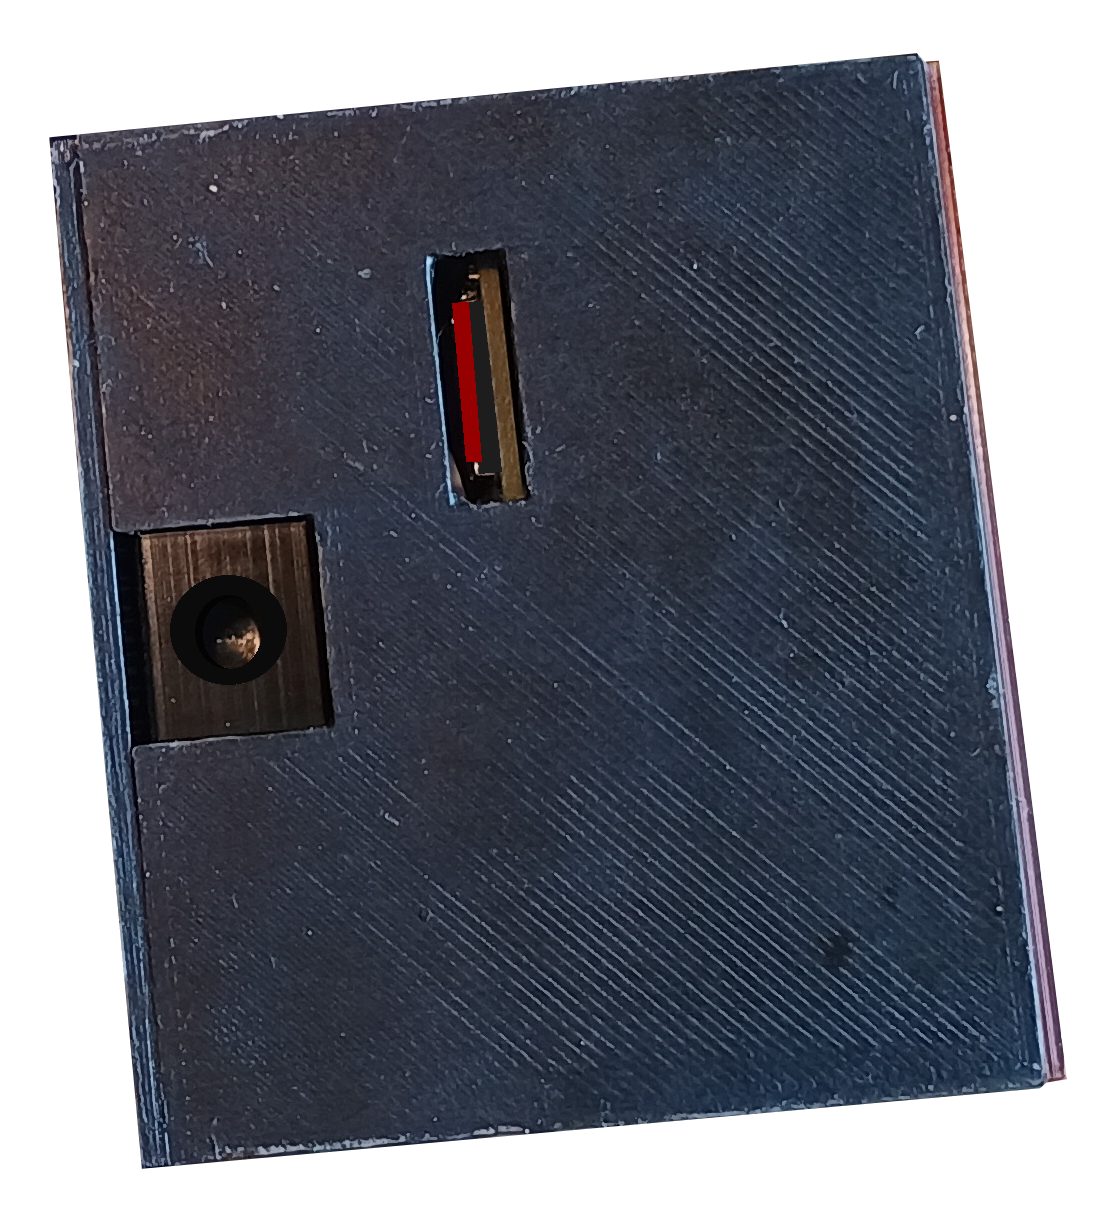
please glue the 4x2 mm magnets with super-glue and not with hot-glue. they almost read the same but the latter will certainly unglue at some point... and go figure out a tweezer! we need one for removing and inserting the SD card at the bottom. the tripod support works fine but who knows how strong 3D printed plastic is
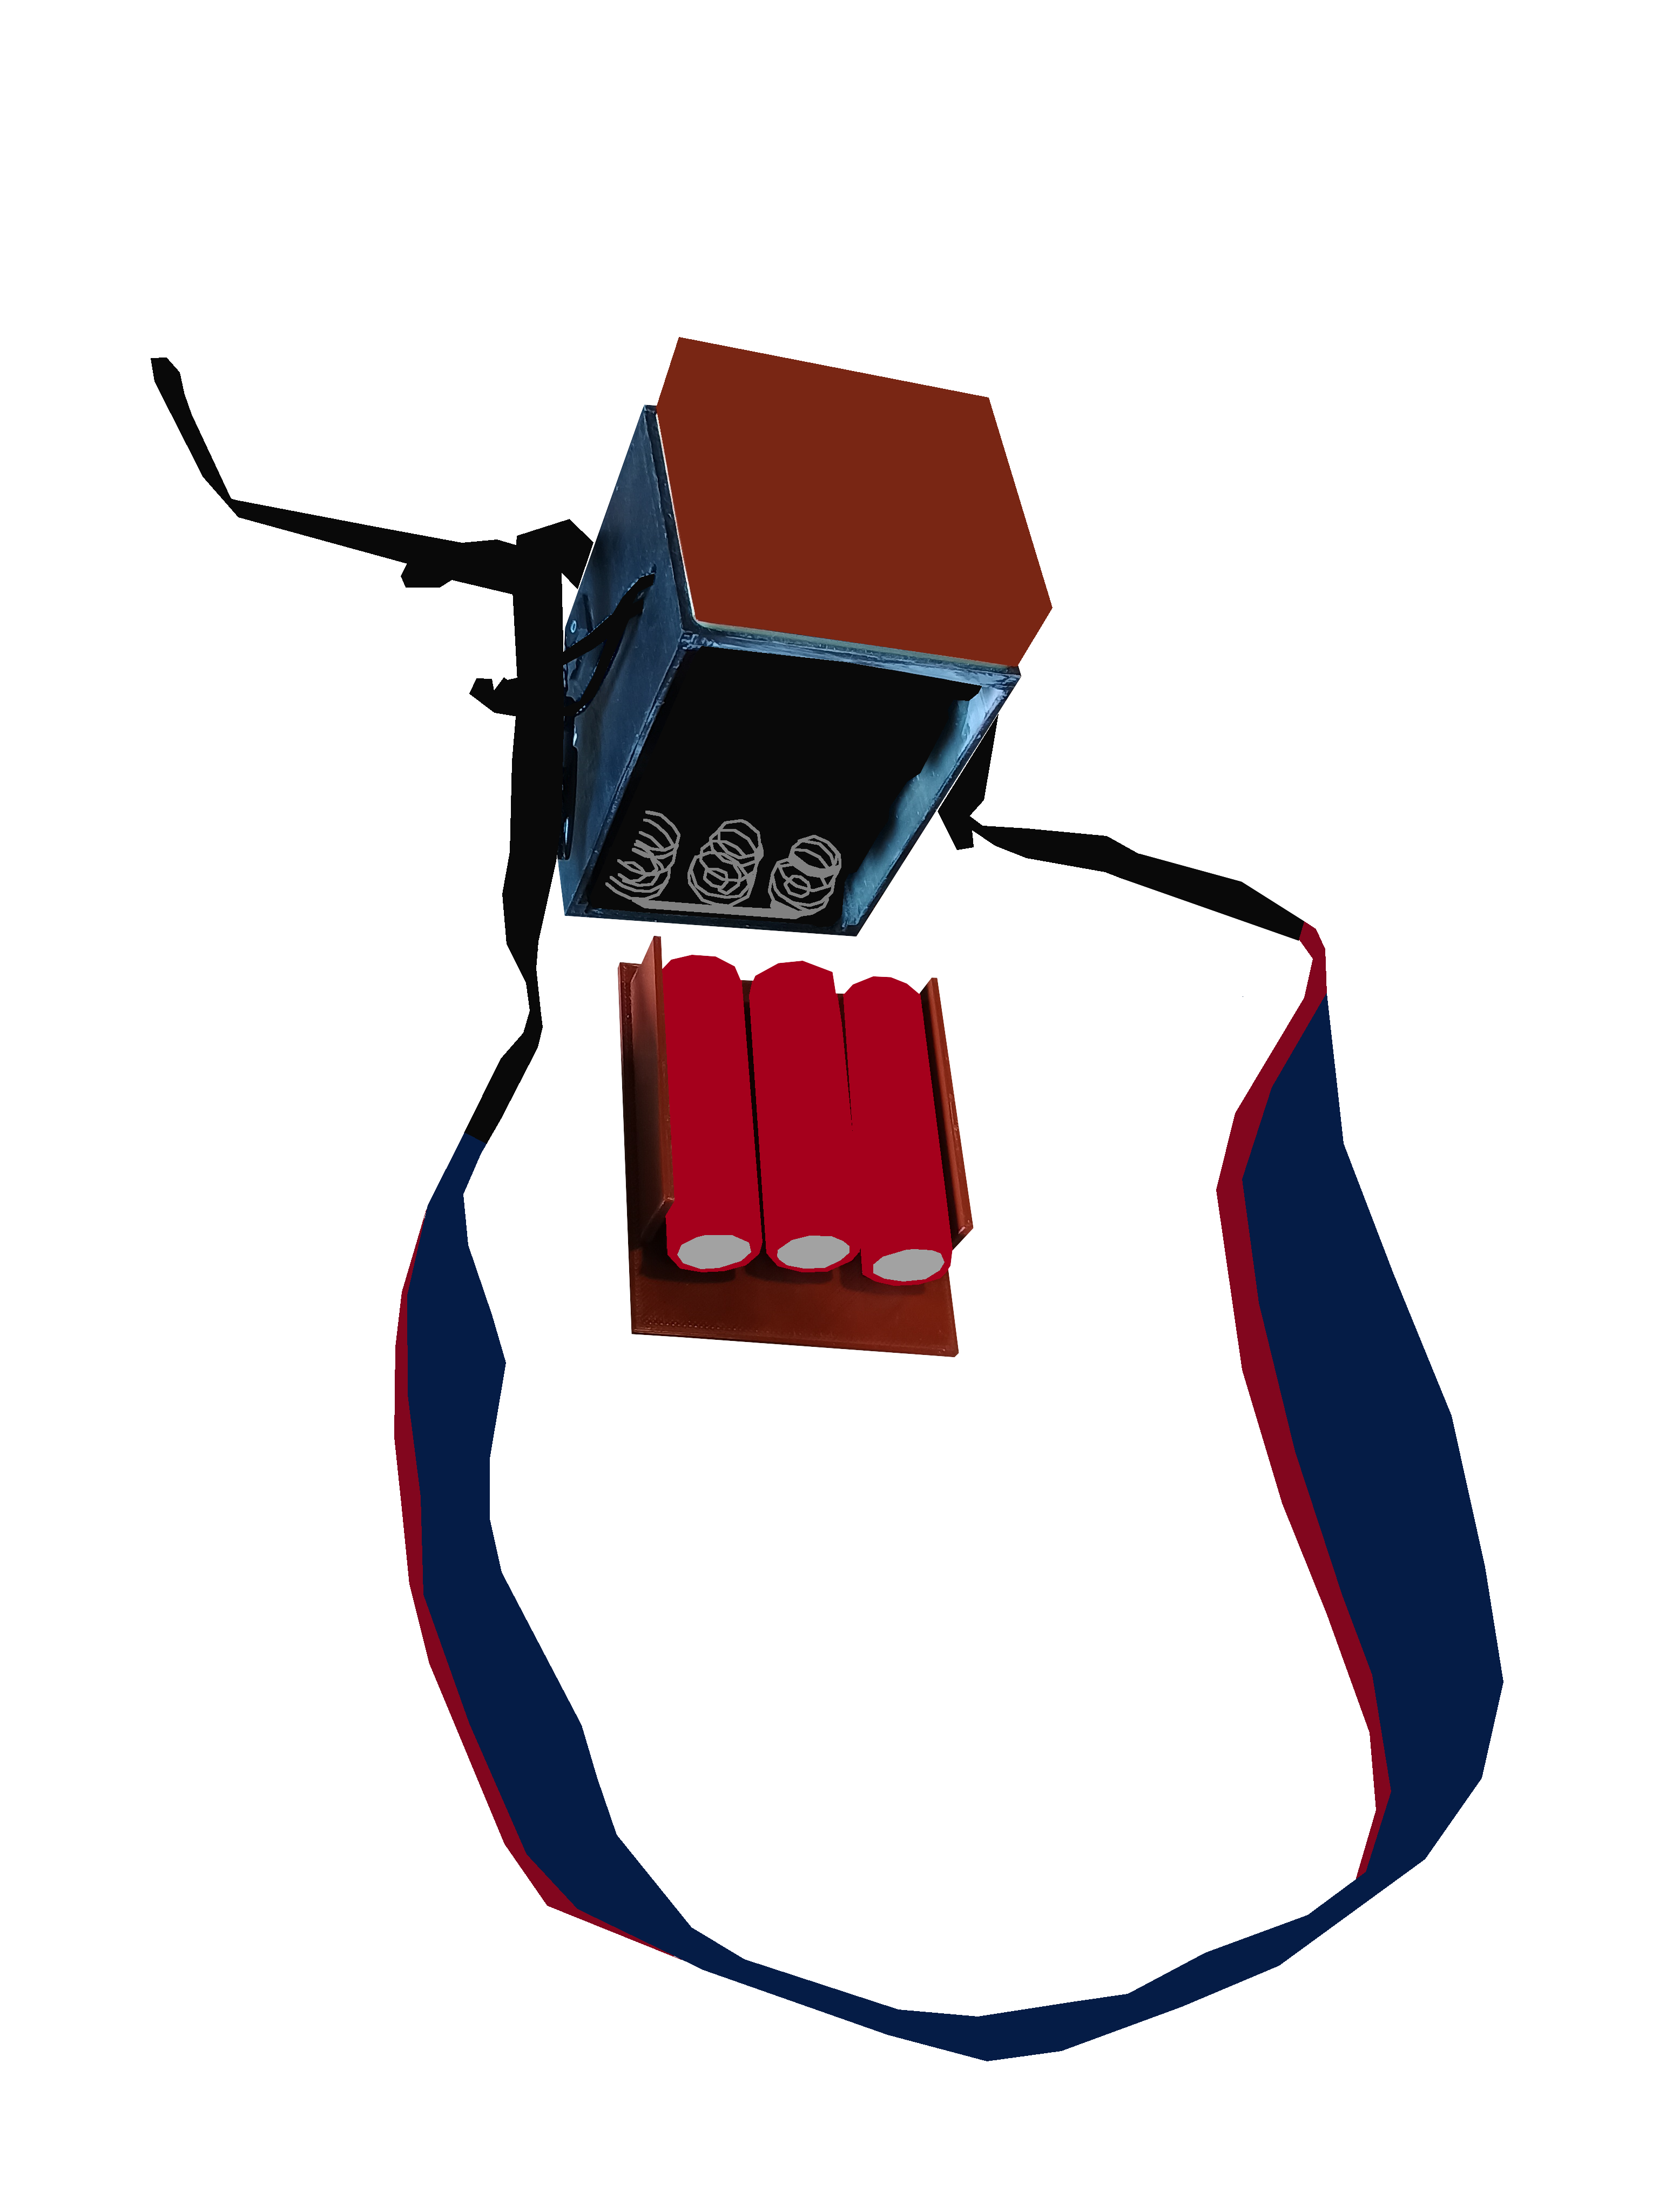
i bought a camera strap in Aliexpress but i guess if you can find one of an old camera, you are much better suited. the Ali may hurt your neck if you go walk some kilometers with it. it also doesn't have metallic parts touching the case, which if you are using the sunshade, it'll make noise. beware of 18650 batteries. they are bombs
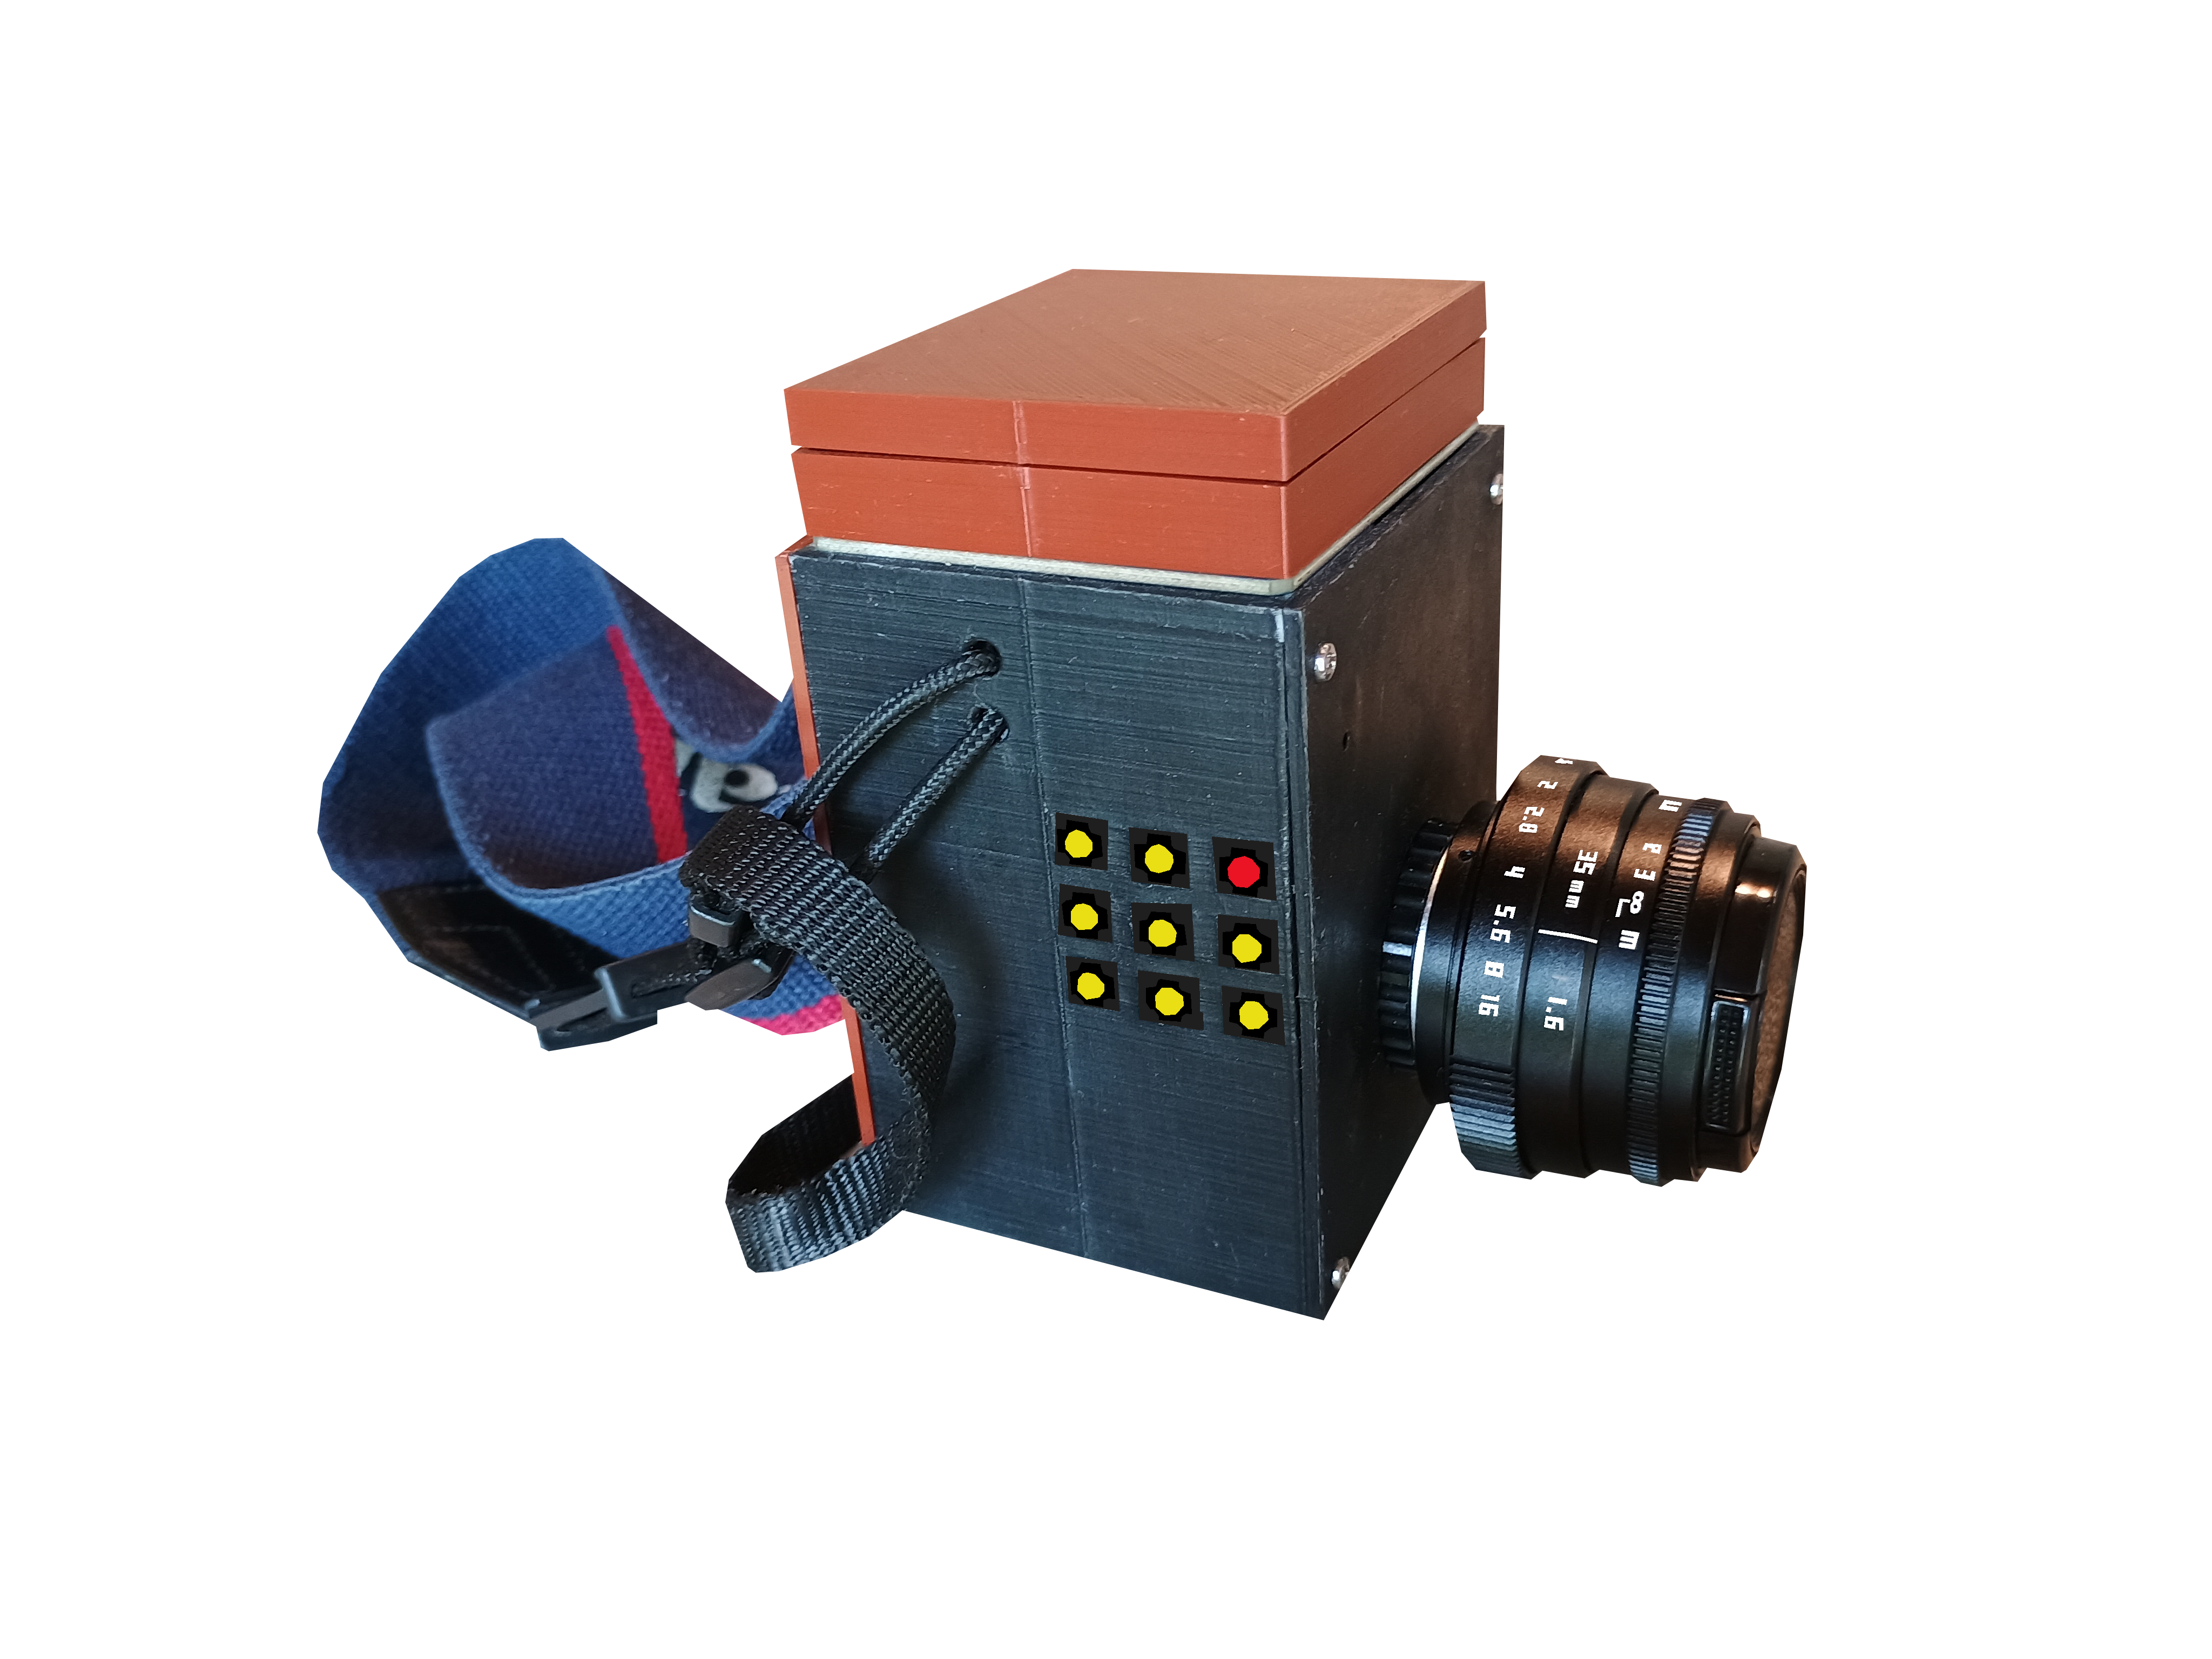
BUTTON 1. (red) is the one we tap to shot or start/stop a video record, if we hold it we stop the camera! useful for saving battery, quick enough for starting Picamera2 again for a new shot, as the time it takes to boot the Pi till the software opens is more than 30 seconds
BUTTON 2. (siding the red) zooms, double-click has a bigger crop, holding resets it. essential to set the focus as we only have manual lenses
BUTTON 3. (last of the row) changes the mode to photo, time-lapse and video. keep in mind the automatic mode doesn't work if you start messing with manual settings. i don't know why because i'm setting the automatic to True. maybe it's because we are in an old version of Picamera2, as we need Debian 11 otherwise the display doesn't work. if you hold this button it will toggle information about the mode we are in as well parameters of the 1° and 2° cluster. triple-clicking accesses a screen showing how much space is left, how many shots and seconds of video and audio-only were recorded
BUTTON 4. (under the red) forwards values of parameters set, hold for small increments, single, double and triple clicks for bigger ones!
BUTTON 5. holding will resets the value of the selected parameter to default. single-click swaps through the mode options
BUTTON 6. same as 4 but decreasing
BUTTON 7. under the 4, same functions as the BUTTON 4!
BUTTON 8. same as 5 but if you are at the screen showing how much storage was left, you can swap between HDMI and the display by double-clicking and if you hold it, it shutdown the Pi
BUTTON 9. same as 6!
you can find reports of the whole journey and the source code if you are interested in making one... i would love to help but keep in mind there are some bugs and sometimes i forgot to upload fixes. this project will migrate to another one that uses a Pi5 but i guess there's some time to roll till i start it. composing music for the video-game i'm making is harder than anything i accomplished (when i was 19 i lived out of ~ 80 USD by hitchhiking and volunteering for a year). creating micro-tonal music drains energy... here are some (non-edited) raw samples i took!